Sealants are an essential component in construction. They are also crucial in many commercial and domestic environments. Here, we are going to show you everything you need to know about its importance and how it can help you.
What Is Sealant in Construction?
Sealants are used in construction as a method to prevent substances and fluid from passing through surfaces, openings, or joints. They can also prevent air, dust, and other debris from passing through. Sealants are used to close any form of opening that is too small for other materials like timber, mortar, or concrete.
What Is Mastic Sealant Used For?
There are many different types of sealants, from acrylic to silicone, as well as polysulphide and fire-resistant, but mastic sealant is a type of sealant in liquid or thick glue or paste form. Mastic sealants are used to join one surface to another and protect the area where it is applied.
Mastic sealants are beneficial because they stay flexible after curing, making them ideal for projects that require the joints and surfaces to have some degree of movement. This is why it works very well with a variety of materials around the home, including in the bathroom, and is used to fix materials as diverse as glass, wood, and concrete.
How to Apply Sealant to a Shower
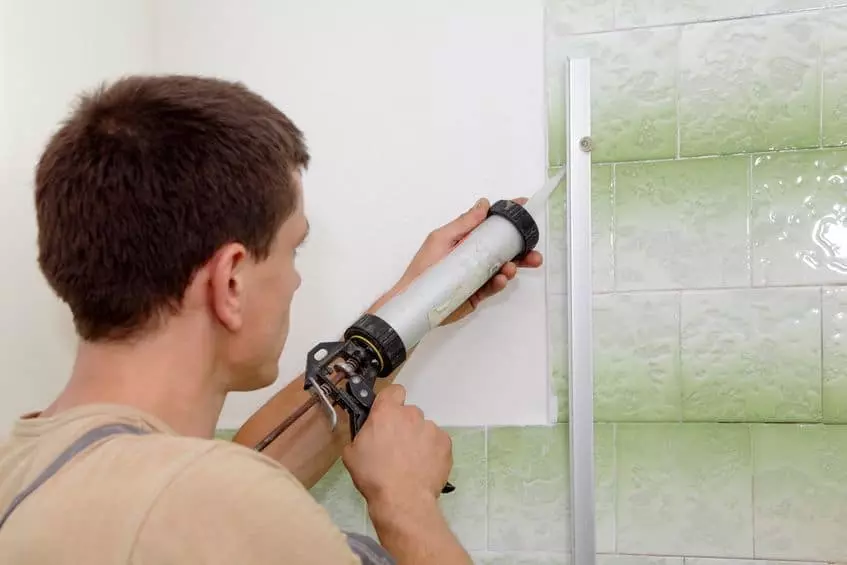
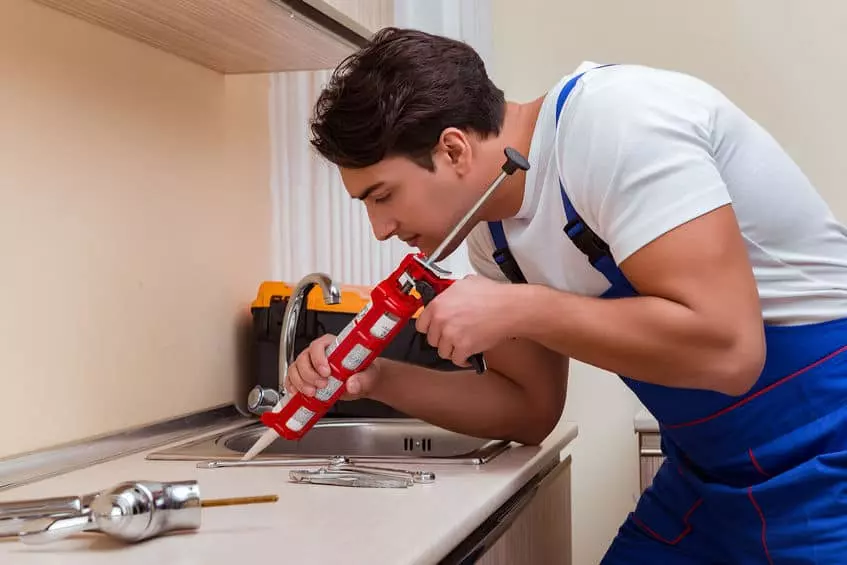
Applying sealant to a shower involves a simple set of steps. Preparation is always key, and you need to follow these top tips.
Step 1: Ensure the Area Is Dry
Make sure the shower tray and walls are dry and free from dirt and debris.
Step 2: Select the Correct Aperture Size on the Tool
Make sure that the bead covers the gap between the tiles and the shower tray.
Step 3: Cut the Application Nozzle
Usually, a 5 mm hole is sufficient for most applications.
Step 4: Apply an Even Bead of Sealant
Apply pressure to the trigger of the application gun and work in one continuous movement.
Step 5: Make Sure There Are No Gaps
This guarantees a consistent finish.
Step 6: Wipe the Excess Sealant Away
Make sure you do this before it dries.
Step 7: Smooth Out the Sealant
Put the smoothing tool against the tray and the tiles, and work in the same direction that you applied the sealant.
Step 8: Leave it to Dry
The sealant should be left for at least 24 hours.
How to Put Sealant Around a Bath
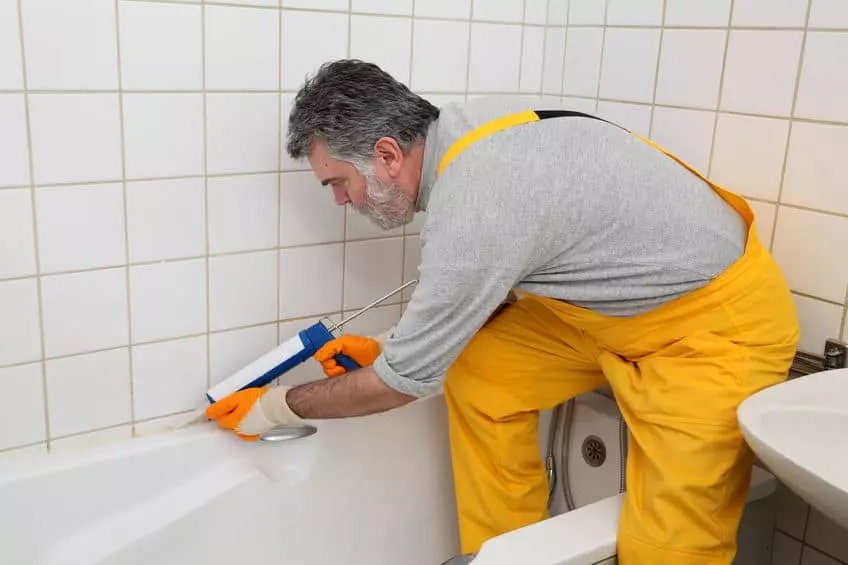
Sealing a bath is very similar to sealing a shower tray.
Step 1: Make Your Workspace Clean
Put masking tape in two straight lines around the grout line to keep the borders straight.
Step 2: Cut the Tip Off the Cartridge
Allow for a 5 mm hole.
Step 3: Load Sealant Into the Gun
Do this carefully.
Step 4: Place the Nozzle at the Starting Point
Apply consistent pressure to ensure a smooth line.
Step 5: Run the Smoothing Tool Along the Seam
This will smooth the grout.
Step 6: Remove the Tape
Do this before the sealant dries.
Step 7: Wipe Away Excess Sealant
Do this before it has a chance to dry. Let it sit for at least 48 hours.
How to Apply Sealant to Window Frames
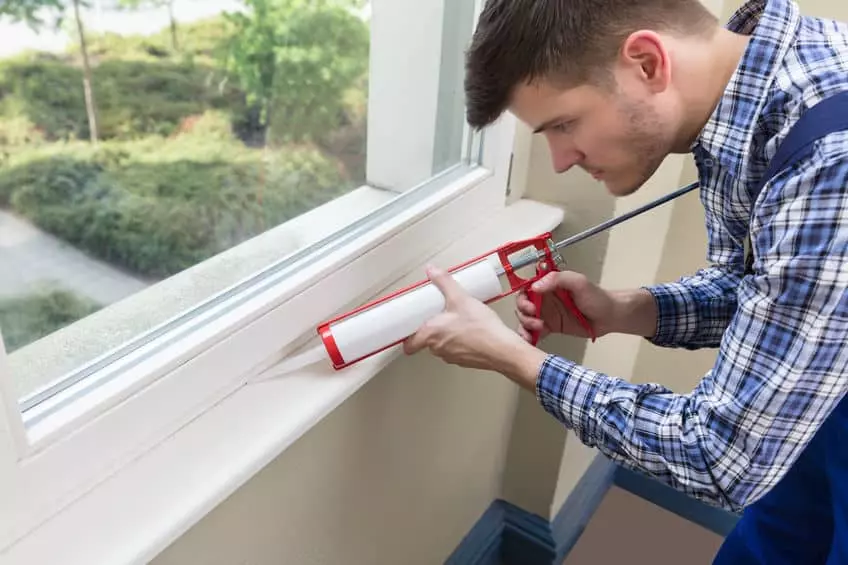
This is one of the best ways to protect your home from damp and reduce the heating bills.
Step 1: Remove the Old Sealant
Scrape away any remaining sealant and wipe the surfaces with a cloth.
Step 2: Apply the New Sealant
Do this once the surfaces are clean and dry. Put the sealant into a cartridge gun and run it along the seams evenly.
Step 3: Smooth the Sealant With a Smoothing Tool
Make sure to use even pressure.
Step 4: Leave the Sealant to Dry for 12 Hours
After this, your windows will be as good as new.
How to Remove Bathroom Sealant Easily
When your bathroom sealant gets discoloured, it can get mouldy, but this is easy to resolve.
Step 1: Apply Sealant Remover to the Sealant
Make sure you follow the product instructions.
Step 2: Use a Sealant Remover
This tool has a pointed tip so the sealant gets pierced and scraped away.
Step 3: Clean the Surface
If the sealant was mouldy, use mould remover and leave it on for as long as the product instructs.
Step 4: Rinse the Mould Remover
Double-check it’s clean.
Step 5: Let the Area Dry
Leave it as long as possible, preferably overnight.
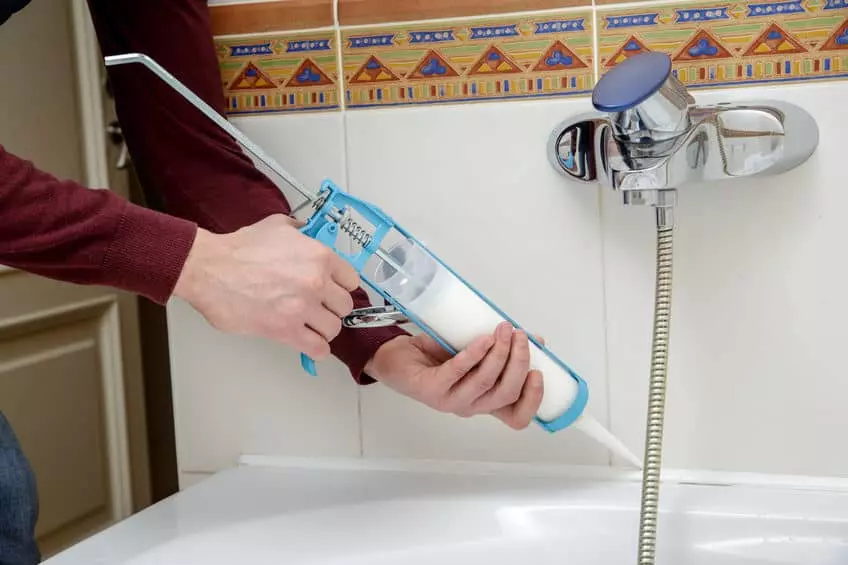
How to Remove Plumbers’ Sealant
After a renovation job, it can be frustrating to find plumbers’ sealant intact. But this is easily fixed.
Step 1: Check the Locations
Look around the pipes and taps so you can do the job in one go.
Step 2: Look at the Material It’s Attached To
Be sure that when clearing away the material, whether it’s granite or ceramics, take care to avoid scratches or permanent damage.
Step 3: Remove the Excess With a Hammer and Chisel
If you cannot do this, carefully use a razor blade to slice it away, without scraping the surface.
Step 4: Use a Heat Gun
If the sealant is stubborn, you can apply heat to it with a heat gun or a hairdryer.
Why Sealant Should Be Applied Correctly
As you can see, there is a lot to consider when applying or removing sealants. To ensure that you do it correctly, or you want extra advice, get in contact with GT Sealants.