Old and mouldy bath sealant is bad news for various reasons. Most obviously, leaving this issue unchecked can make your entire bathroom look a mess no matter how much you scrub to get those fixtures shining. Even more worrying is the fact that sealant that’s no longer doing its job can see moisture seeping into your walls. That’s terrible news and is guaranteed to lead to extensive and expensive repairs and treatments.
Luckily, there is a better way, and it comes in the form of resealing your bath before things get that far. In fact, embarking on this task the moment you notice your old sealant blackening or peeling away couldn’t be easier, or cheaper, to manage. And, yet it could save you countless expenditure and hours of worry.
Far from letting this issue sit, then, it’s time to take action with an antifungal sealant that can see your bathroom looking fresher for far longer, especially if you keep reading to find out all you need to know about the best way to seal a bath.
Tools You’ll Need to Seal a Bath
Before resealing is possible, you need to check that you have the right tools to hand. The good news is that a professional company will already have everything they need so that you don’t have to worry. If you want to give this a go yourself, however, you will need to stock up on some essentials, including –
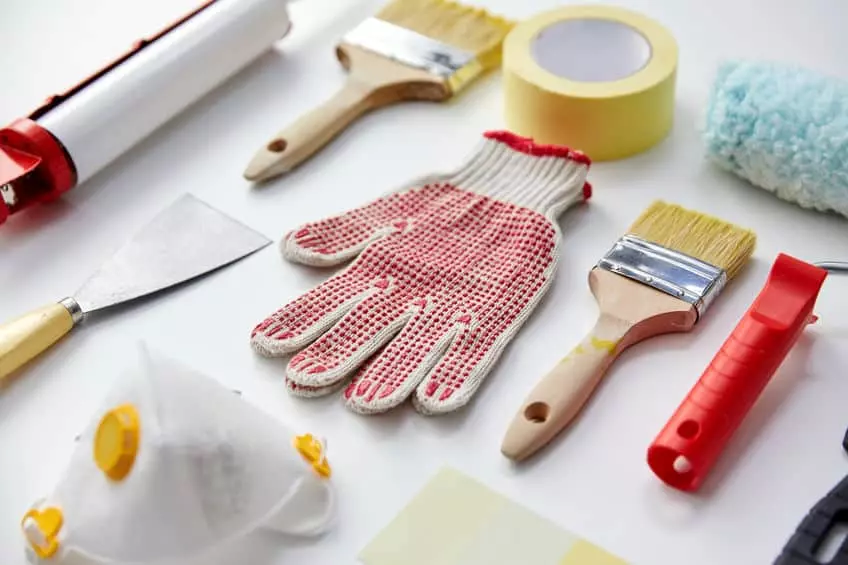
- Safety equipment – glasses, gloves, etc.
- Safety knife
- Masking tape
- Box cutter or straight blade
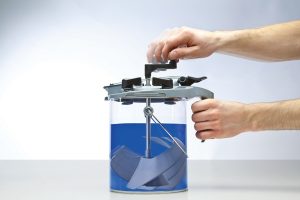
- Caulking gun
- Methylated spirit and a cloth
- Silicone sealant
- Smoothing tools
Removing the Old Silicone Sealant
Patching old sealant is never going to improve the appearances or functionality of your bath seals. For that, you need to reseal your bath entirely, a step that you can’t take until you’ve removed all traces of the old silicone sealant.
While it is possible to do this job without, you may first prefer to invest in a sealant softener. By applying this around 15 minutes beforehand, you’ll certainly make your life a little easier. Even without this addition, though, it should be simple enough to remove existing sealant using a box cutter or the flat blade of a safety knife. Do note, however, that care must be taken to ensure that you don’t mark your walls or the coating of your bath itself.
Also check: How to Apply Silicone Sealant
Note, too, that you’ll never be able to achieve the resealing finish that you’re after unless you remove every last bit of the old sealant. Even if you think you’ve done a good enough job with your flat blade, then, it’s always worth taking extra precautions. Notably, using the methylated spirit and cloth from your toolkit is an easy way to remove all those pesky little pieces that your knife couldn’t quite get to.
How to Seal a Bath – Step by Step
Now that your old sealant is out of the way, your bath is ready for its new coat. The good news is that you have all the tools you need to hand to simplify this task. That said, you also need to know how to put that toolkit to good use. Here, we’re going to give a step-by-step breakdown that arms you with knowledge, as well as the right equipment.
Step 1 – Tape the edges of your bath

Silicone is amazing stuff, but it can also be unforgiving if you slip or let it set in the wrong places. Far from providing a sleek finish, this will look messy and, ultimately, fail to serve its intended purpose. Hence why you should mark all the edges of your bath with tape, starting with the corner furthest your bathroom door and keeping the tape 3mm from the wall. That way, you can achieve the precision and appearances that you’re after.
Step 2 – Fill your bath with water

You should always seal a full bath, as this weighted application is the best way to ensure the sealant won’t crack when you next fill your bathtub. Leave the water until your sealant has fully cured.
Step 3 – Prepare your sealant

Next, you should cut the tip of your sealant nozzle just above the screwhead at a 45-degree angle to enable easy application. Then, place the silicone into your caulking gun. You should always wear your safety equipment at this stage and every step from here.
Step 4 – Apply your sealant

Place the nozzle of your caulking gun at your starting point (again the furthest corner from your door outwards), as close to the wall as you can get, and press to release your sealant. To keep your lines smooth, try to seal each line in one fluid movement.
Step 5 – The finishing touches

Once you’ve applied your sealant, you should immediately remove any excess with a damp cloth before it dries. You should also ensure appearances by taking this chance to shape and smooth your sealant using an instrument such as a wooden spoon. You should do this at an angle so that your seal detracts water that can continue causing damage.
Step 6 – Wait for your sealant to dry

Sealant can take anywhere from 24-48 hours to dry, and the tub must remain filled but unused during that time, after which your bath will be raring and ready to go again.
GT Sealants for simplified sealant solutions
While it’s true that many homeowners do take care of their own bath sealant, it can be a long-winded and fiddly job. As well as needing to stock up on the basics, you have to take a great deal of time out to get this just right. Even then, improper applications can let water through. By comparison, turning to our expert team here at GT Sealants means guaranteed results every time. Our team has the expertise and tools to take this responsibility off your hands, and all you need do is contact us today on 01277 525 020 or 07748 373537.