If you’ve ever used silicone sealant before, you’ll know that it’s almost impossible to stop it from getting everywhere. Once the project is over, the house can resemble a plasterer’s on a Friday afternoon! This causes two problems: it looks untidy and gets in the way when you want to replace the sealant. Therefore, there is only one thing to do, which is to remove the silicone. Whether you do it straight away to ensure the basin or sink appears clean or you wait until it’s time for a new DIY project, the basics remain the same.
Here’s how to remove silicone sealant easily and effectively.
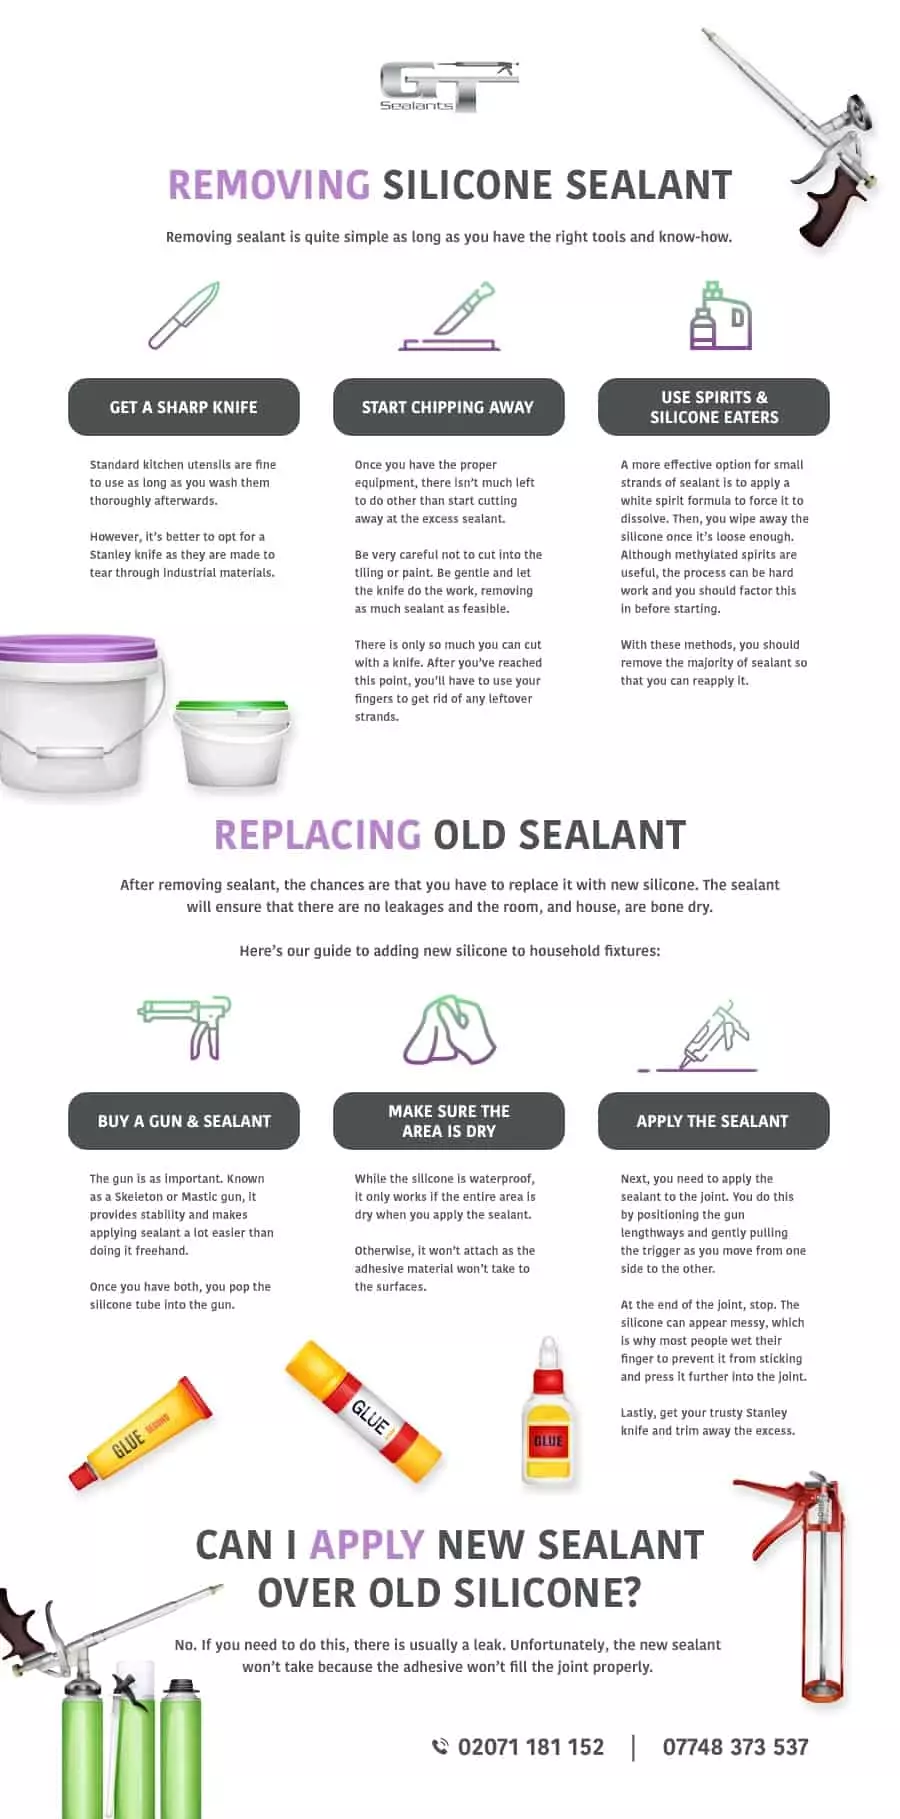
Removing Silicone Sealant
Removing sealant is quite simple as long as you have the right tools and know-how.
- Get A Sharp Knife
The knife is going to do the majority of the work, so it’s essential that it’s sharp and agile enough to cut away the silicone without getting stuck along the way. Standard kitchen utensils are fine to use as long as you wash them thoroughly afterwards. However, it’s better to opt for a Stanley knife as they are made to tear through industrial materials. You may also know them as ‘box cutters.’ For those of you who don’t have either, it is possible to use a chisel, yet it can be laborious and take a lot longer.
- Start Chipping Away
Once you have the proper equipment, there isn’t much left to do other than start cutting away at the excess sealant. Be very careful not to cut into the tiling or paint (or whatever you’ve used to decorate the room) as a sharp knife will chip away at anything in its path. And you don’t want to have to renovate again! An excellent tip is to wear gloves to avoid injuries, too. Be gentle and let the knife do the work, removing as much sealant as feasible.
There is only so much you can cut with a knife. After you’ve reached this point, you’ll have to use your fingers to get rid of any leftover strands. The gloves come in handy here because rubbing and tearing with your hands can hurt after a while.
- Use Spirits And Silicone Eaters
If the idea of getting your hands dirty doesn’t sound appealing, there are alternatives. ‘Silicone eaters’ are products that are supposed to perform as advertised, but the results tend to be mixed. A more effective option for small strands of sealant is to apply a white spirit formula to force it to dissolve. Then, you wipe away the silicone once it’s loose enough. Although methylated spirits are useful, the process can be hard work and you should factor this in before starting.
With these methods, you should remove the majority of sealant so that you can reapply it.
Replacing Old Sealant With New Silicone
After removing sealant, the chances are that you have to replace it with new silicone. The sealant will ensure that there are no leakages and the room, and house, are bone dry. Here’s our guide to adding new silicone to household fixtures.
- Buy A Gun And Sealant
Hopefully, you’ll have silicone leftover from your previous attempt as it will save you money in the long run. The sealant isn’t cheap, so if you do have to purchase it, please store it away for another project. The gun is as important. Known as a Skeleton or Mastic gun, it provides stability and makes applying sealant a lot easier than doing it freehand. Once you have both, you pop the silicone tube into the gun.
- Make Sure The Area Is Dry
While the silicone is waterproof, it only works if the entire area is dry when you apply the sealant. Otherwise, it won’t attach as the adhesive material won’t take to the surfaces. Therefore, it’s essential that you don’t use the basin or shower/bath a couple of hours beforehand, and go around with a dry cloth to wipe away any moisture. If you don’t do this, applying the silicone will be in vain.
- Apply The Sealant
Next, you need to apply the sealant to the joint. You do this by positioning the gun lengthways and gently pulling the trigger as you move from one side to the other. At the end of the joint, stop. The silicone can appear messy, which is why most people wet their finger to prevent it from sticking and press it further into the joint.
Lastly, get your trusty Stanley knife and trim away the excess.
Can I Apply New Sealant Over Old Silicone?
No. If you need to do this, there is usually a leak. Unfortunately, the new sealant won’t take because the adhesive won’t fill the joint properly.