Wildlife photographer and artist, Alan J Sinclair first began glass engraving 40 years ago. He has found that the use of new tools, not available to him 40 years ago, have enhanced the work he does now.
Satisfaction from experimenting with silicone polishers and different burrs has opened up new ways of achieving effects.
How To Achieve Detail On Fur and Feathers When Glass Engraving
The detail achieved by Alan comes from his training of engraving black granite.
Accuracy of strokes are essential on black granite as every line is far more visible than on glass, he also tries to avoid cross hatching which on granite can look very untidy.
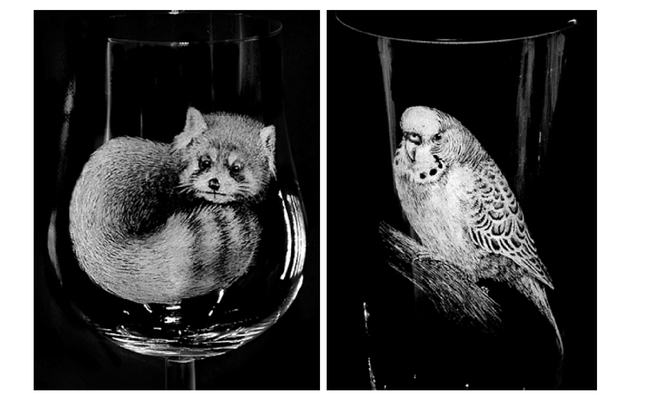
Engraving strokes that emulate the direction of fur flow or feather helps depict fine detail and gives a more natural and realistic finished image.
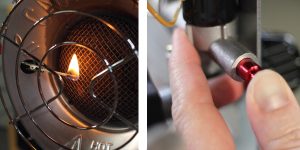
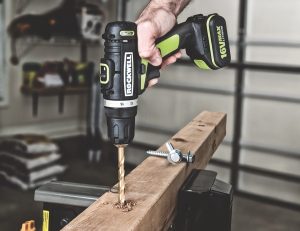
Alan’s detailed aspect to his work can be explained by his technique of using a Pin Vice, hand held. Rather than using his drill which he usually only uses for putting on the final highlights, most of his work is done with a pin vice pencil.
By placing your diamond burrs into a simple hand held pin vice allows you to use the burrs as you would the tip of a paintbrush or pencil.
For anyone considering trying glass engraving of this type it may be advantageous experimenting on a black granite tile, its very similar but with the advantage of a more obvious visual contrast as you “build” the image.
Alan uses the Knife edge silicone polishing wheels which he finds very effective for dulling the light surface strokes. This allows him to over engrave areas and build a detailed graduation towards the highlighted area required, finishing with the drill for the lightest tones.
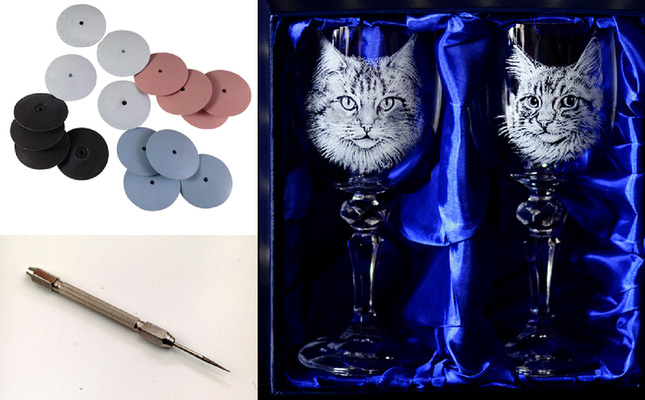
The Tools Used to Create These Effects:
- Diamond Burs, varieties such as Point Burs (Rats Tails), Ball Burrs, flame shaped FG burs
- Pin Vice
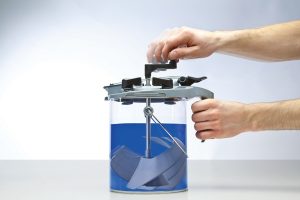
- Mini Rubber Silicone Polishers in knife edge and wheel shape
- Mini Rubber Silicone Pin Polishers
Alan say’s:
“Its not the quickest method as it can take 3/4 passes on one area and without drill rotation, sharpening is constant and essential but if you have the patience I think it is worth the effort”
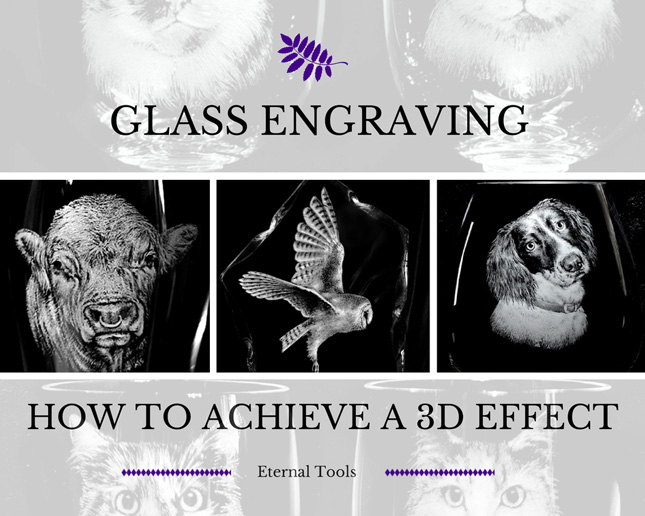
How To Achieve a 3D Effect When Glass Engraving
A technique Alan has found very effective for his style of engraving on Glass (not so effective on the softer crystal) which he feel allows you to achieve an effective 3D look is as follows:
“I have noticed many people use, in particular, the blue grade silicone knife edge or wheels on completed works to add the extra dimension.
However, to achieve softer uniform background tones lightly engrave an area then apply the use of silicone polishers, then build up tones with the use of over engraving. Use the silicone polishers again until you end up with a smooth graduated fadeout effect from polished un-touched areas to the heavier highlighted detail”
This technique flies in the face of “less is better” but hopefully proves itself particularly on the Barn Owl and Springer Spaniel pieces in the main header image where this was used extensively. It can be time consuming and requires a reasonably light touch but well worth the effort.
If you are just embarking on the wonderful art of glass engraving click here to find out the 5 essential tools you’ll need for engraving using the drill technique.
“Your diamond burrs and silicone polishers have proved to be of an excellent consistent quality, absolutely no reason to look elsewhere for supplies” ~ Alan J Sinclair